From Title to Shelf! Connecting Your Registrar to AWS with Route 53
Published on: July 8, 2025
Connecting Our Domain with AWS
Alright, welcome back! It's pretty cool to look at how far we've already come on this journey together.
In Part 1: Your Digital Identity, we sorted out our professional identity by picking the perfect title for our book, our domain name. Then in Part 2: Lab Setup, we built a private lab, the local setup on our computers where we'll actually write the book itself, our website.
Now it’s time to give our project a home in the world's biggest library, Amazon Web Services. We’re going to get our own shelf space and register our book in the library's main directory, which is called Amazon Route 53.
Think of it this way. The official index card we'll create in Route 53 is the key to everything. It connects just two things: the memorable title of our book (like ourproject.com) and its actual spot on the shelf (our server's unique address).
But there's a small catch. When we first registered our book's title, the company we bought it from, our registrar, assigned their own staff to answer any questions. The problem? Those people don't work at the main AWS library where we want to publish. They have no idea where our shelf is.
So, our last big step here is to go back to that registration office and give them new instructions. We need to say:
"For our book, please stop using your staff. We've hired a team of expert librarians over at the main AWS library. From now on, send everyone who asks about our book directly to them."
Once we make that one change, every request for our book will go straight to the right system, Route 53. It's the only system that can read our index card and guide readers to the correct shelf in an instant.
Step 1: Create Our Directory Listing in the Main Library
First things first, we need to let the main library, AWS, know that we plan to list our book with them. We'll do this by creating an entry in their master directory, Route 53. AWS has a technical name for this, a "Hosted Zone," but we can just think of it as creating the main directory page for our book.
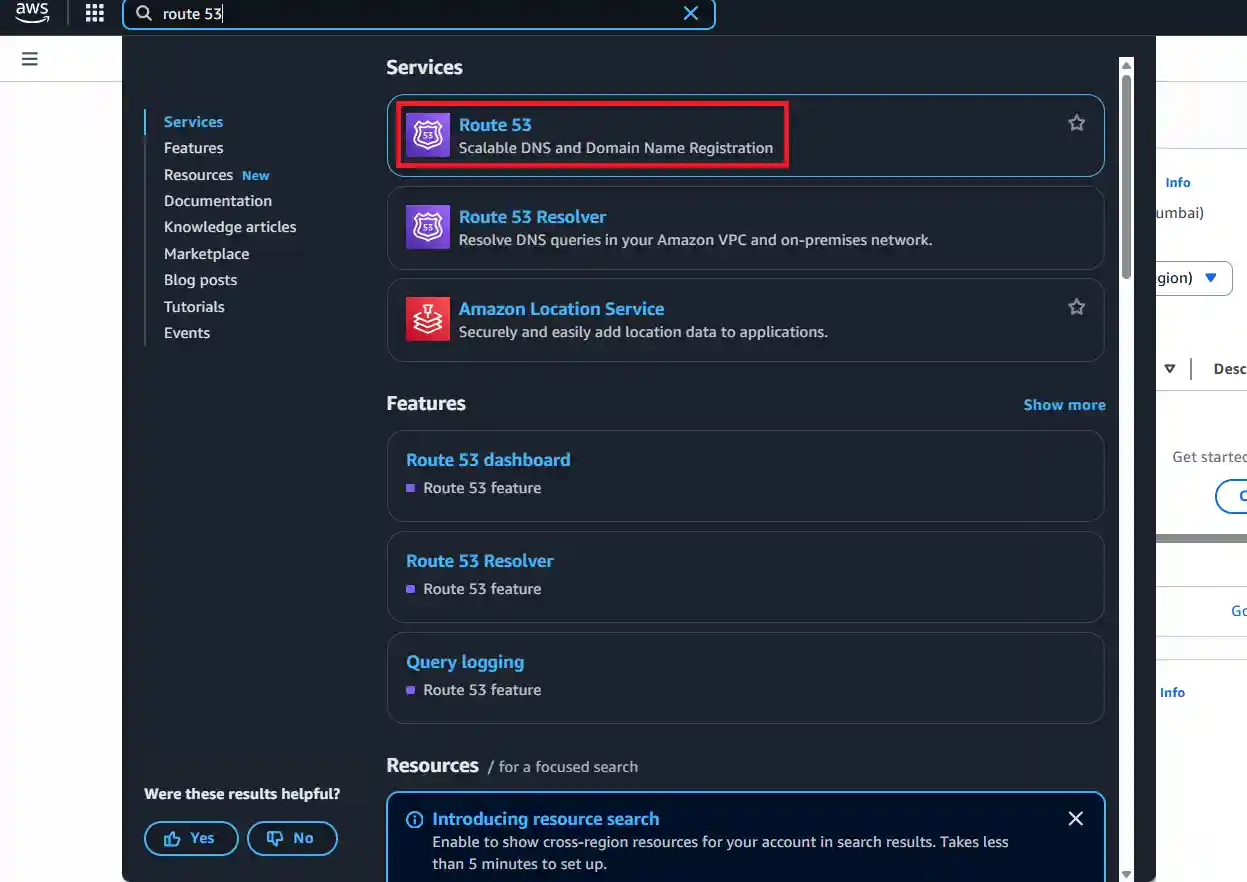
- Let's start by logging into our AWS Console.
- In the main search bar at the top, we'll type Route 53 and hit Enter, then click on the Route 53 service.
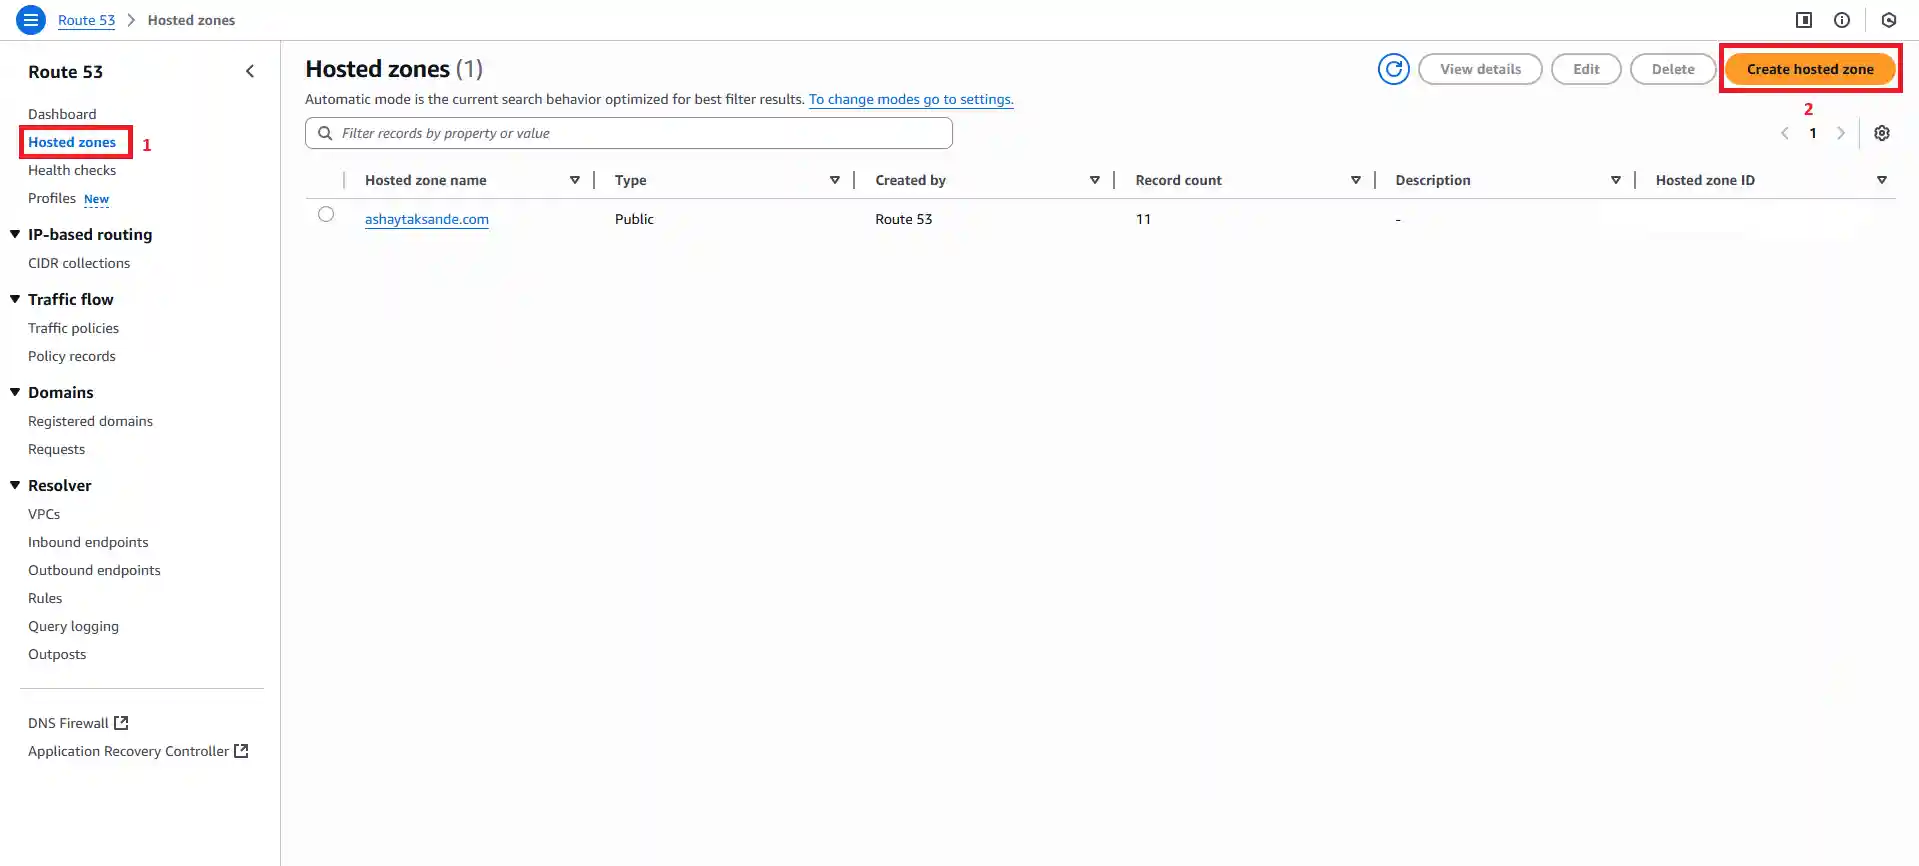
- On the Route 53 dashboard, we'll find the button that says Create hosted zone and click it.
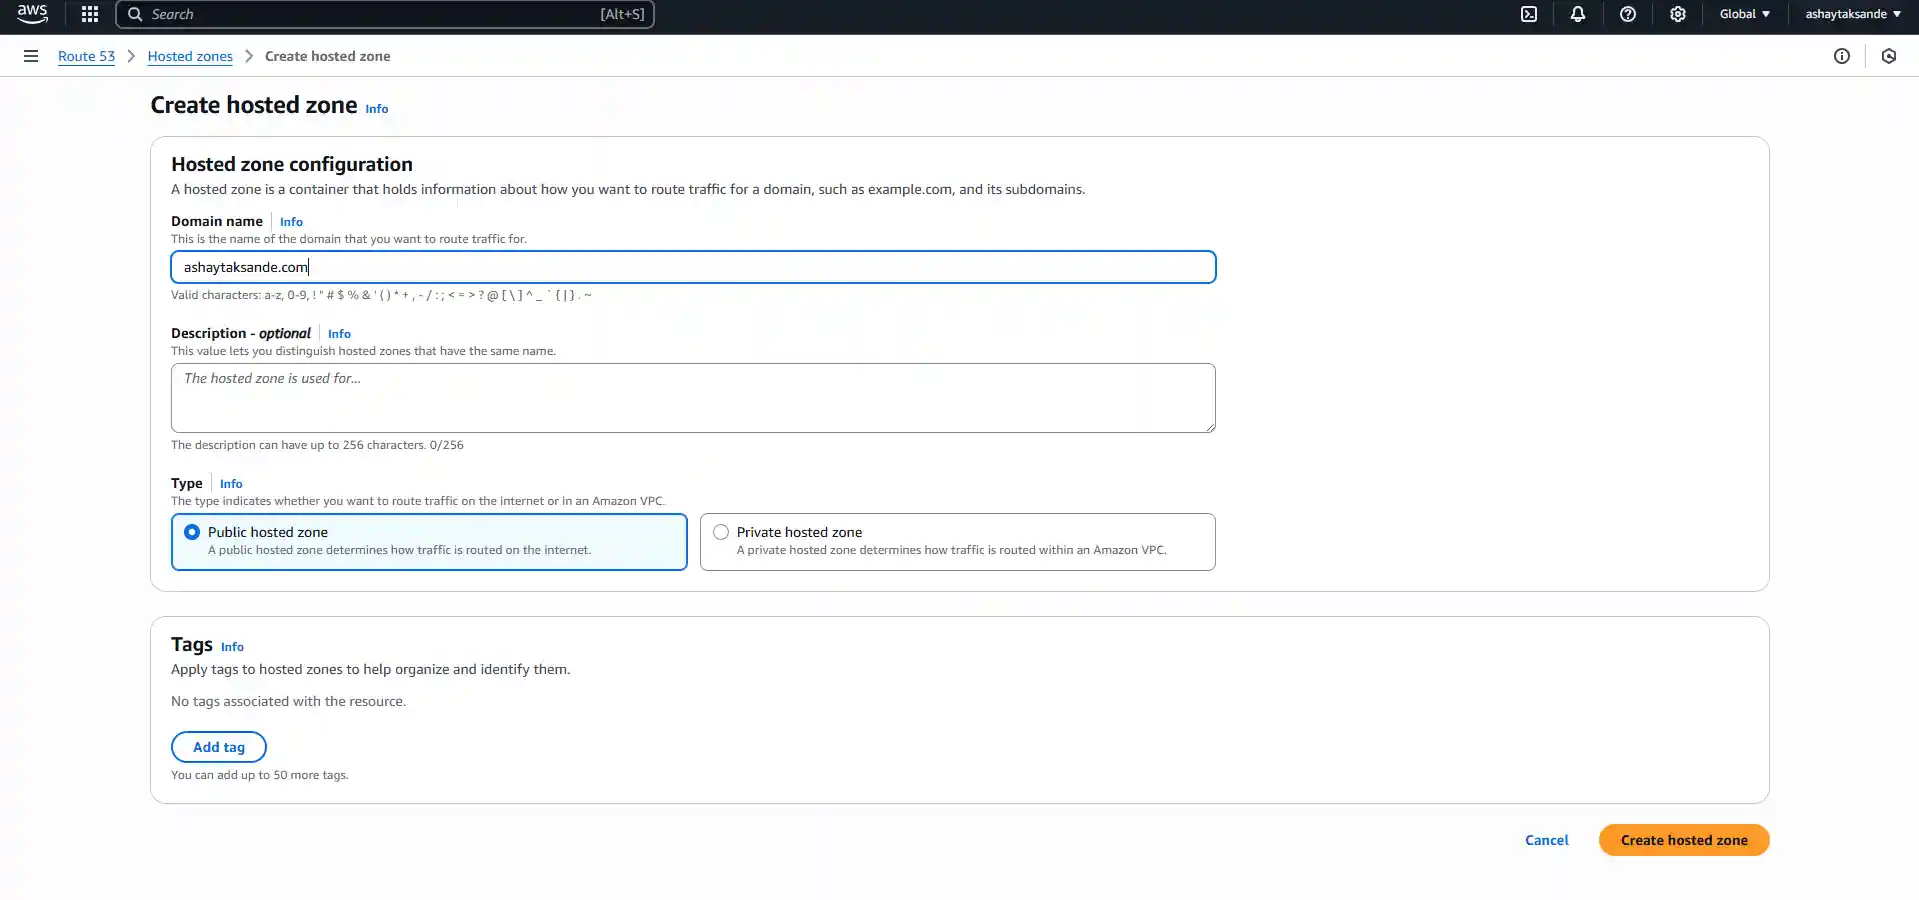
- Now we'll see a form. This is where we'll enter our book's title.
- Domain name: We'll type our domain name here exactly as we bought it. For example,
ashaytaksande.com. We won't addwww.orhttps://. - Description: This part is optional, so we can leave it blank or write something simple like "Our portfolio website."
- Type: We need to make sure Public hosted zone is selected. This is the default and it's what we need for a public website.
- Domain name: We'll type our domain name here exactly as we bought it. For example,
- Let's click the Create hosted zone button at the bottom.
Success! Let's Get the Contact Info for Our New Librarians
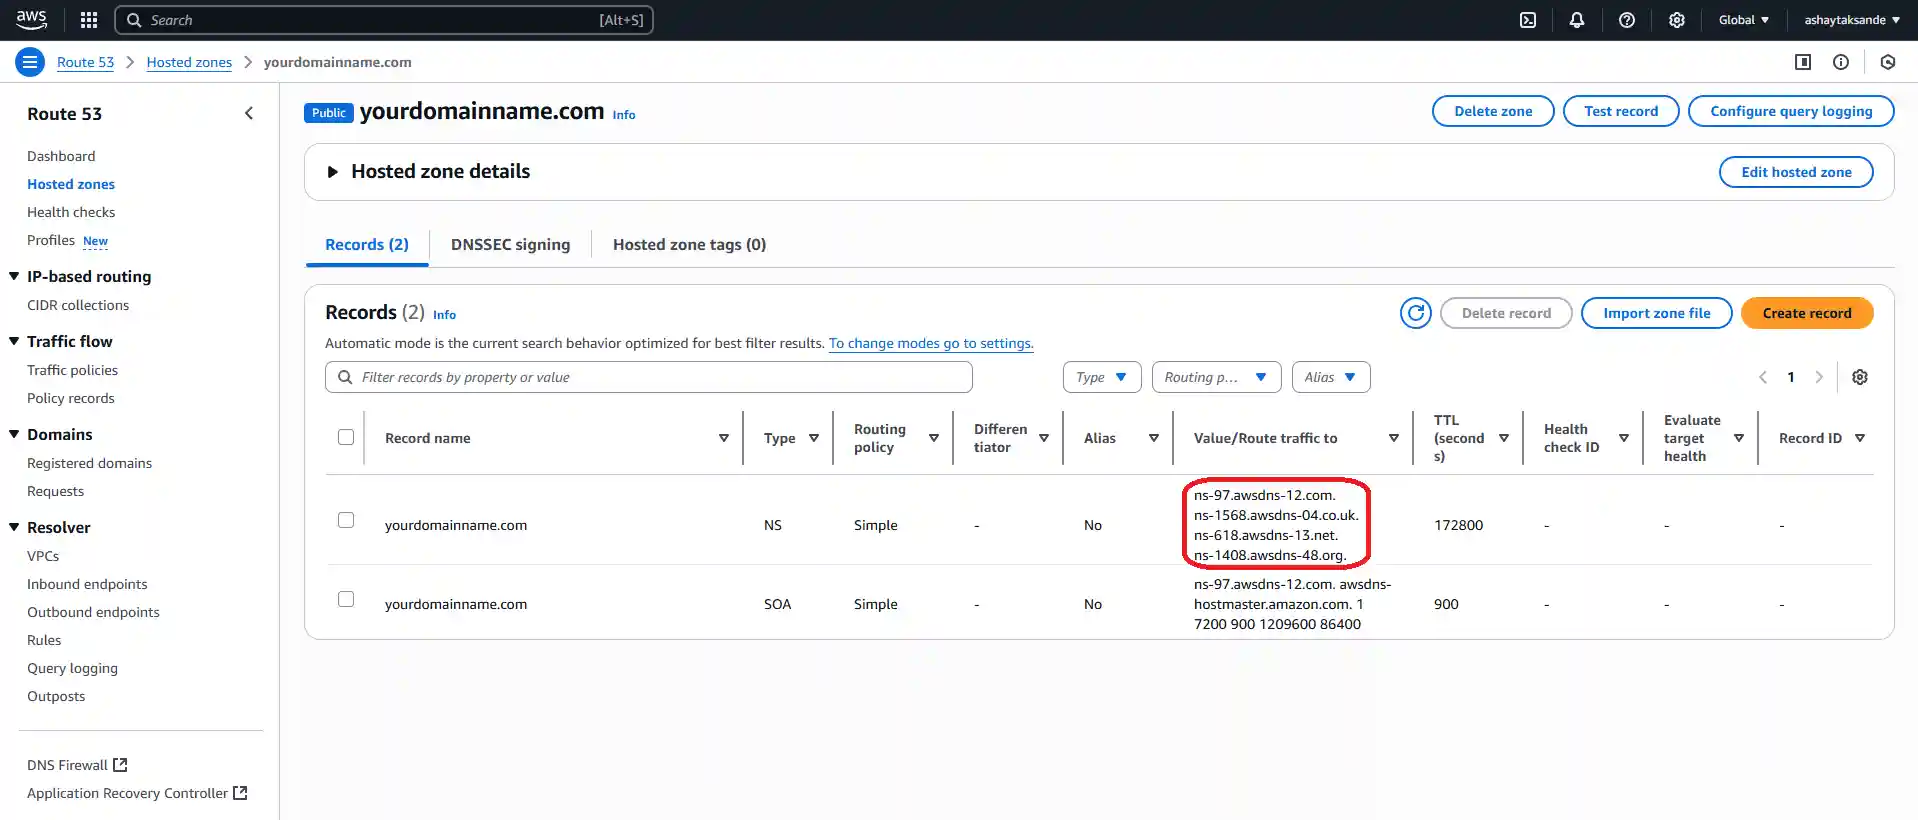
AWS has now created our directory entry. On the details page, we'll see a record with the "Type" NS. This stands for Name Server.
Next to this NS record, we'll see four server addresses. They will look something like this:
(These are here only as an example! Only use the Name Servers provided by your own Route 53 hosted zone.)
ns-123.awsdns-01.com.
ns-456.awsdns-02.net.
ns-789.awsdns-03.org.
ns-101.awsdns-04.co.uk.
This is the direct contact information for our new team of expert AWS librarians. We need to give this information to our original publisher, our domain registrar.
Step 2: Update Our Publisher with the New Staffing Assignment
Okay, it's time to head back to the office where we first registered our book's title, our domain registrar. We need to update their records to fire their default staff and hire our new AWS librarians.
- Let's log in to our domain registrar's website (GoDaddy, Namecheap, Spaceship, etc.).
- We'll find the section for managing the domain we bought. We're looking for options like Manage DNS, DNS Settings, or Nameservers.
- We should see the registrar's current "staff" listed, their default nameservers. We'll look for a button or link that says Change, Edit Nameservers, or Use Custom Nameservers.
- This will open a form with a few fields. Let's delete any existing nameservers that are there.
- Now, we'll carefully copy and paste the four "librarian" addresses from our AWS Route 53 page into these fields.
- Let's save the changes. Our registrar will probably show a warning that says something like, "Warning: You are changing who is in charge of your domain's directions." This is exactly what we want, so we'll go ahead and confirm the change.
Finding the Nameserver Settings (Helpful Links)
Every publisher's office is laid out differently. Here is a comprehensive list of help articles to find this specific setting for many popular registrars:
- Bluehost: How to Modify Name Servers
- DreamHost: Change Nameservers at Your Current Host
- GoDaddy: Edit My Domain Nameservers
- HostGator: How Do I Change My DNS / Name Servers?
- Hostinger: How to Change Nameservers
- IONOS (formerly 1&1): Using Your Own Name Servers
- Namecheap: How to Change DNS For a Domain
- Network Solutions: How to Manage DNS Records
- Porkbun: How to Change Nameservers
- Register.com: How to Change Your Name Servers
- SiteGround: Manage Domain's Name Servers
- Spaceship: Connect to Third-Party Nameservers
- Squarespace Domains (formerly Google Domains): Making Changes to Nameservers
The Waiting Game (Letting the Memo Circulate)
We've done everything right. Now, we just have to wait.
This change isn't instant. We've sent out a global memo to every library branch in the world, informing them of the new staffing change for our book. It takes time for all these different branches to get the memo and update their internal directories.
This process is called DNS Propagation.
It can take anywhere from 30 minutes to 48 hours. In most cases, we'll see the change happen within a couple of hours. We shouldn't panic if it takes longer. This is the one step in the whole process that is completely out of our hands.
This is a great time to take a break. We can even move on to the next part of the guide while we wait.
The New Librarians Are at Their Desks!
And that's it, we're done with the hard part! While the internet is busy passing that memo around, let's take a moment to appreciate what we've just accomplished together. We've officially updated the publisher's records and put our new team of expert AWS librarians in charge of our book.
From this point forward, whenever someone asks for ourname.com, they'll be sent straight to our new team at the main library.
Right now, our librarians know the title of our book, but they don't have a specific shelf number to point to just yet. In the next part, we'll actually build that shelf using a service called Amazon S3. We'll even put a simple "Hello World" page on it. This gives our librarians their very first set of directions to share with the world.
This article is part of the series: Building a Portfolio Website From Scratch
About the Author
This article was written by Ashay Taksande.